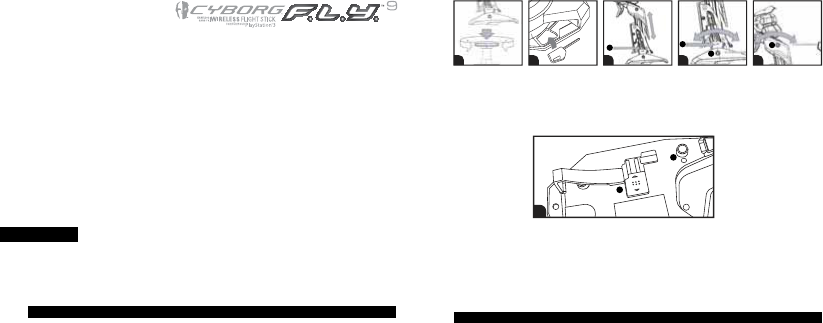
Brugsanvisning Cyborg F.L.Y 9 (for PlayStation 3) Spil controller
Har du brug for en brugsanvisning til din Cyborg F.L.Y 9 (for PlayStation 3) Spil controller? Nedenfor kan du se og downloade PDF-brugsanvisningen gratis på Dansk. Dette produkt har i øjeblikket 2 ofte stillede spørgsmål, 0 kommentarer og har 0 stemmer. Hvis dette ikke er den brugsanvisning, du ønsker, bedes du kontakte os.
Er dit produkt defekt, uden at brugsanvisningen har en løsning på problemet? Tag til en Repair Café, og få gratis reparation.
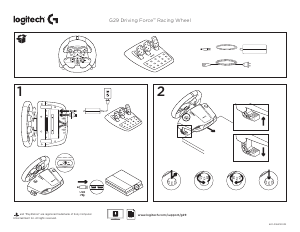
Brugsanvisning
Loading…

Loading…
Bedømmelse
Fortæl os, hvad du synes om Cyborg F.L.Y 9 (for PlayStation 3) Spil controller ved at lave en produktbedømmelse. Vil du dele dine oplevelser med dette produkt eller stille et spørgsmål? Skriv en kommentar nederst på siden.Mere om denne brugsanvisning
Vi forstår, at det er rart at have en papirbrugsanvisning til din Cyborg F.L.Y 9 (for PlayStation 3) Spil controller. Du kan altid downloade brugsanvisningen fra vores hjemmeside og selv printe den. Hvis du gerne vil have en original brugsanvisning, anbefaler vi, at du kontakter Cyborg. De kan muligvis levere en original brugsanvisning. Leder du efter brugsanvisningen til din Cyborg F.L.Y 9 (for PlayStation 3) Spil controller på et andet sprog? Vælg dit foretrukne sprog på vores hjemmeside, og søg efter modelnummeret for at se, om vi har det tilgængeligt.
Specifikationer
| Mærke | Cyborg |
| Model | F.L.Y 9 (for PlayStation 3) |
| Kategori | Spil controllere |
| Filtype | |
| Filstørrelse | 0.46 MB |
Alle brugsanvisninger til Cyborg Spil controllere
Flere brugsanvisninger til Spil controllere
Ofte stillede spørgsmål om Cyborg F.L.Y 9 (for PlayStation 3) Spil controller
Vores support-team søger efter nyttige produktoplysninger og svar på ofte stillede spørgsmål. Hvis du finder urigtigheder i vores ofte stillede spørgsmål, må du meget gerne lade os det vide ved at bruge vores kontaktformular.
Et batteri i min enhed er oxideret. Kan jeg stadig bruge det sikkert? Verificeret
Ja, enheden kan stadig bruges sikkert. Fjern først det oxiderede batteri. Brug aldrig bare hænder til at gøre dette. Rengør derefter batterirummet med en vatpind dyppet i eddike eller citronsaft. Lad det tørre, og isæt nye batterier.
Dette var nyttigt (194) Læs mereKan jeg vikle ledningen rundt om enheden efter brug? Verificeret
Det er bedre ikke at gøre dette, fordi det kan beskadige ledningen. Den bedste ting at gøre er at pakke ledningen ind, som den var, da produktet blev pakket.
Dette var nyttigt (173) Læs mere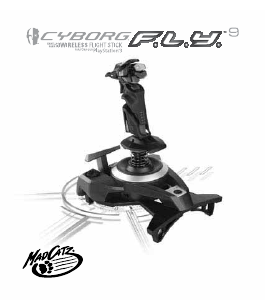

Deltag i samtalen om dette produkt
Her kan du dele, hvad du synes om Cyborg F.L.Y 9 (for PlayStation 3) Spil controller. Hvis du har et spørgsmål, skal du først læse brugsanvisningen omhyggeligt. Anmodning om en brugsanvisning kan ske ved at bruge vores kontaktformular.